OSINT
Cracking the Code: How to Geolocate a Random Photograph of London Using OSINT Methodology
Ever wondered how investigators determine the exact location of an image with little to no context?
18 February 2025 · 3 min · Kate
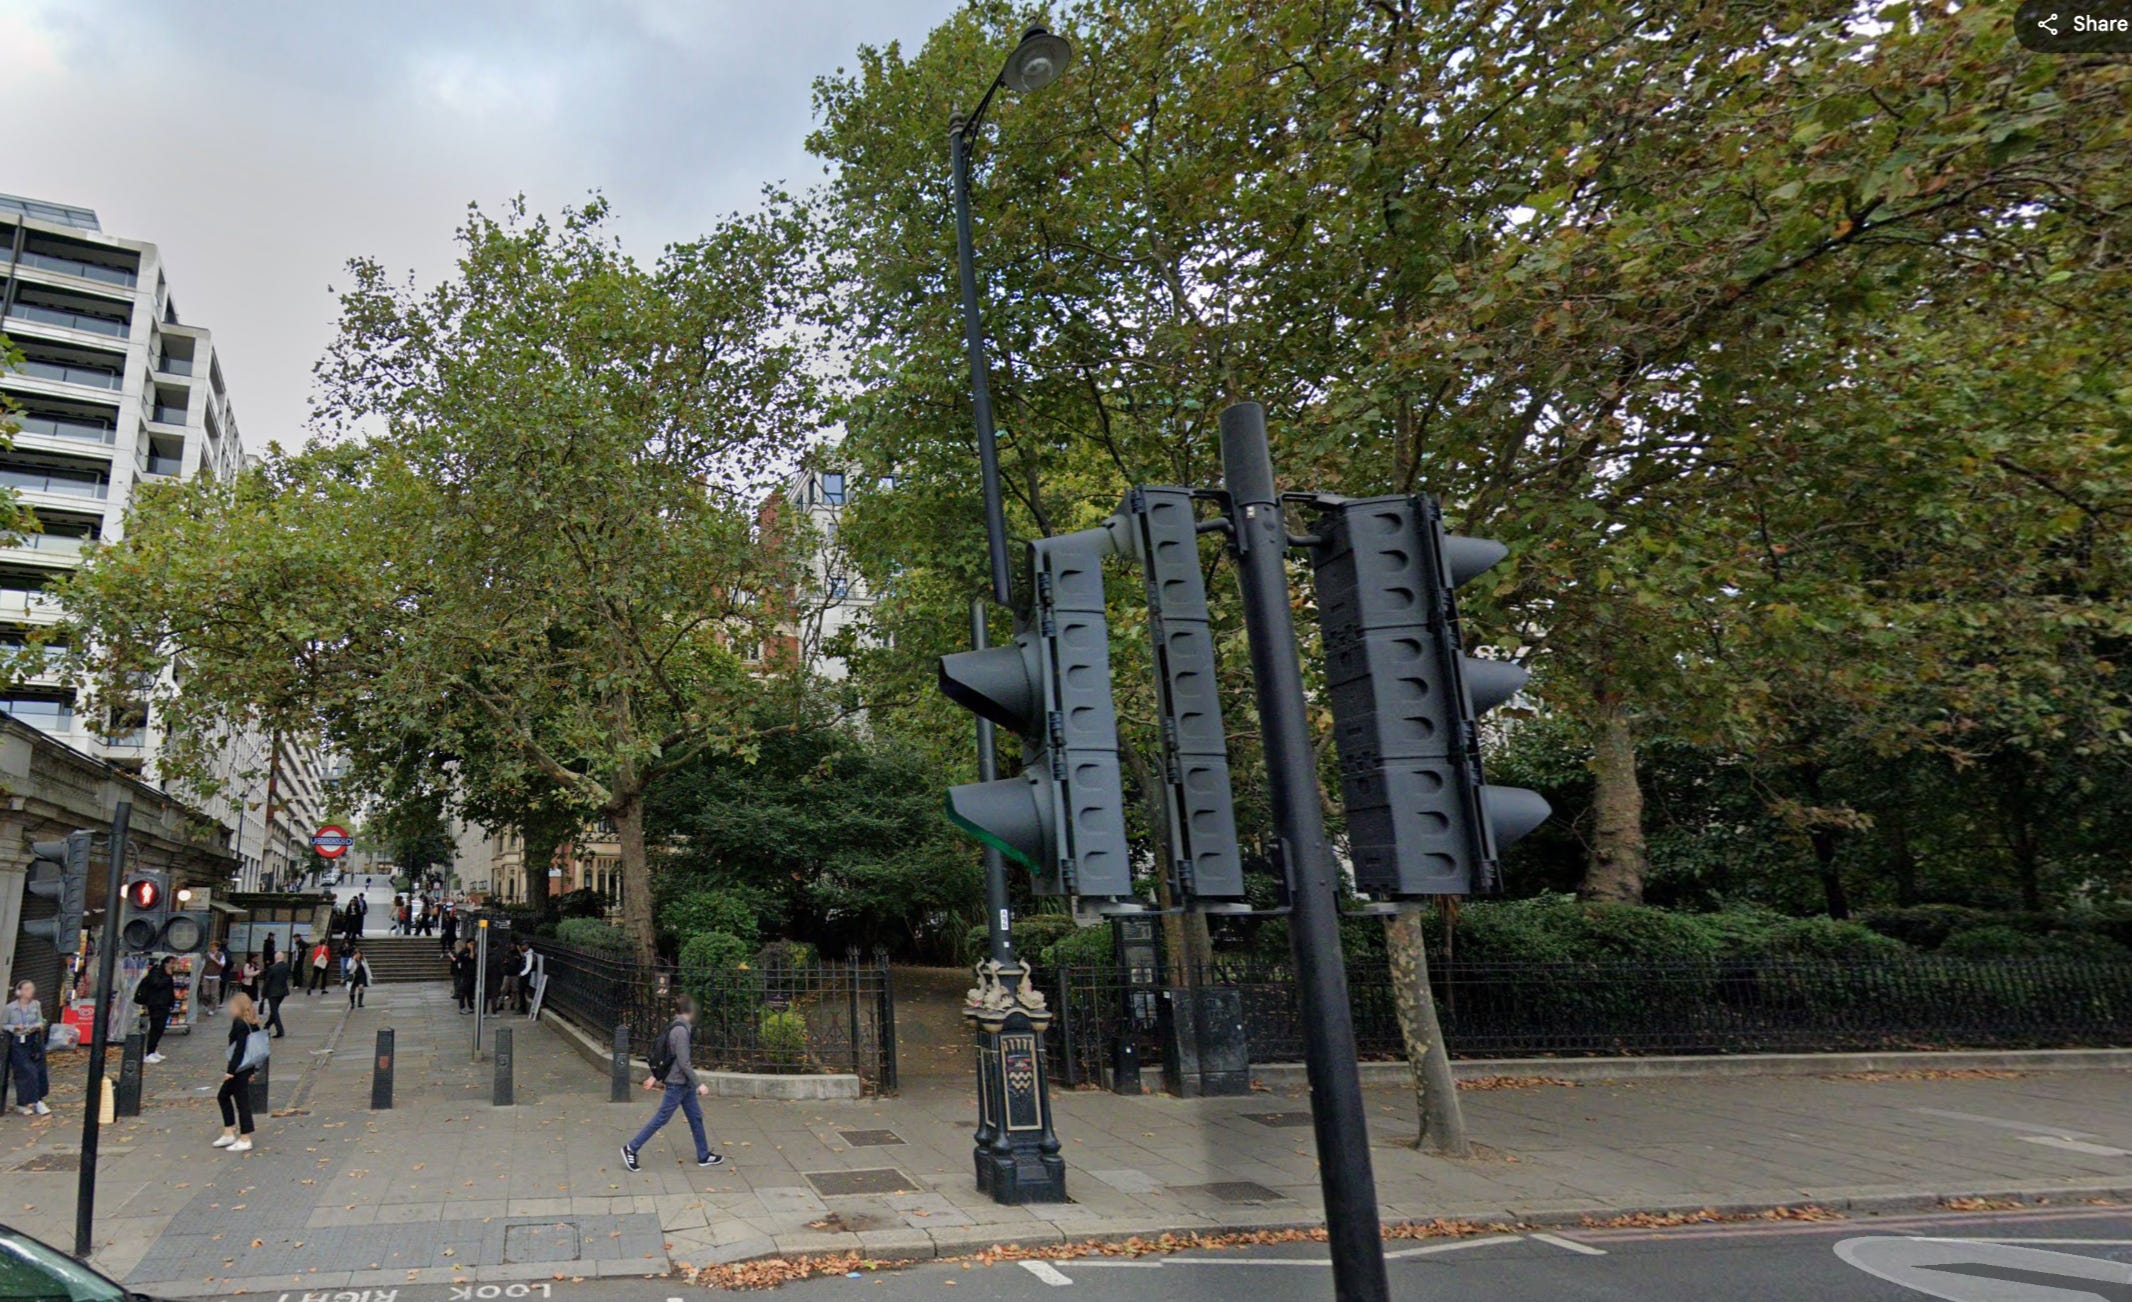
Imagine stumbling upon a mysterious photograph taken somewhere in London. No location tags, no obvious landmarks—just a handful of subtle visual clues. Can you figure out exactly where it was taken? Welcome to the fascinating world of OSINT (Open Source Intelligence), where every detail matters and every search is a step closer to uncovering the truth.
In this tutorial, we'll take you through a real-world OSINT investigation, using a single image to pinpoint its precise location in London. Ready to put your detective skills to the test? Let’s dive in!
To get our location today, I asked my boss to send me a random screenshot from google earth of an area in London to geolocate.
(Here it is)
Soo.. how do we solve it?
If you’d like to give it a go first, please do so now before scrolling (spoilers to follow). And PLEASE comment how you did it - just because I post a certain methodology does not mean that it’s the only way, let’s learn from each other.
Spoilers from now!!
Step 1: Identifying Key Clues in the Image
Upon inspecting the image, we notice several important elements that may help us determine the exact borough or location:
A London Underground station – This helps narrow down our search to locations near tube stations.
A London borough logo on a streetlight and a pole – Borough insignias can pinpoint the administrative district.
A street name in the distance – Street names provide direct geographic references.
Double red lines on the road – These indicate major roads with strict traffic regulations, common in central London.
A distinct lamppost design – Unique lampposts may indicate a specific area within London.
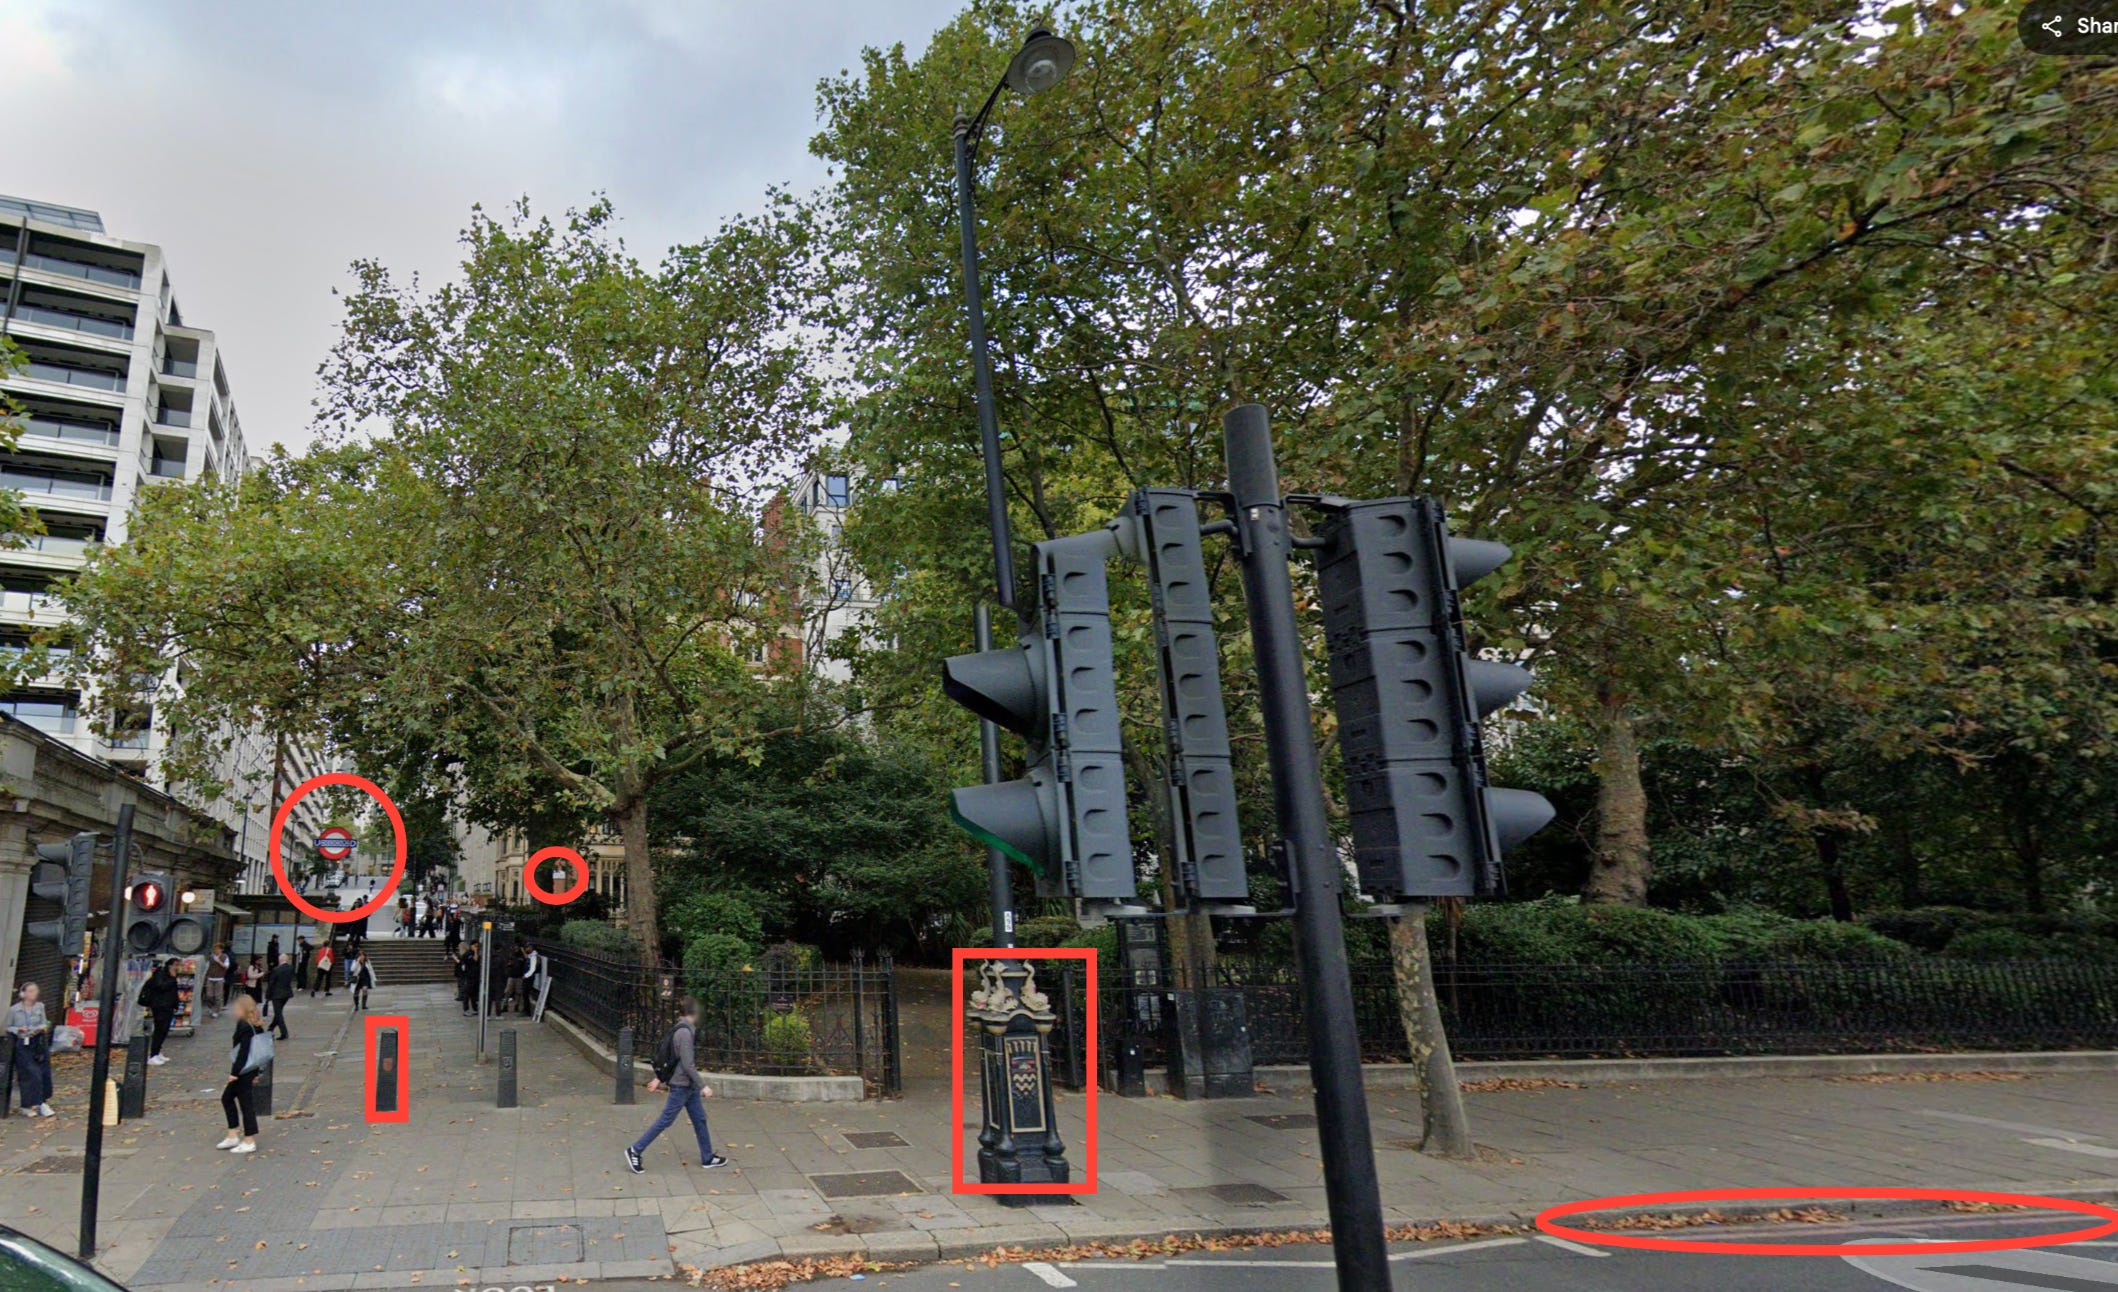
Step 2: Investigating the Lamppost Design
The lamppost stands out as a distinct feature. To learn more about it, we conduct a quick Google search:
Search query: "London dolphin lampposts"
This leads to information about the Southbank being lined with special, large lampposts featuring dolphins. However, the design in our image is different. Let’s refine our search.
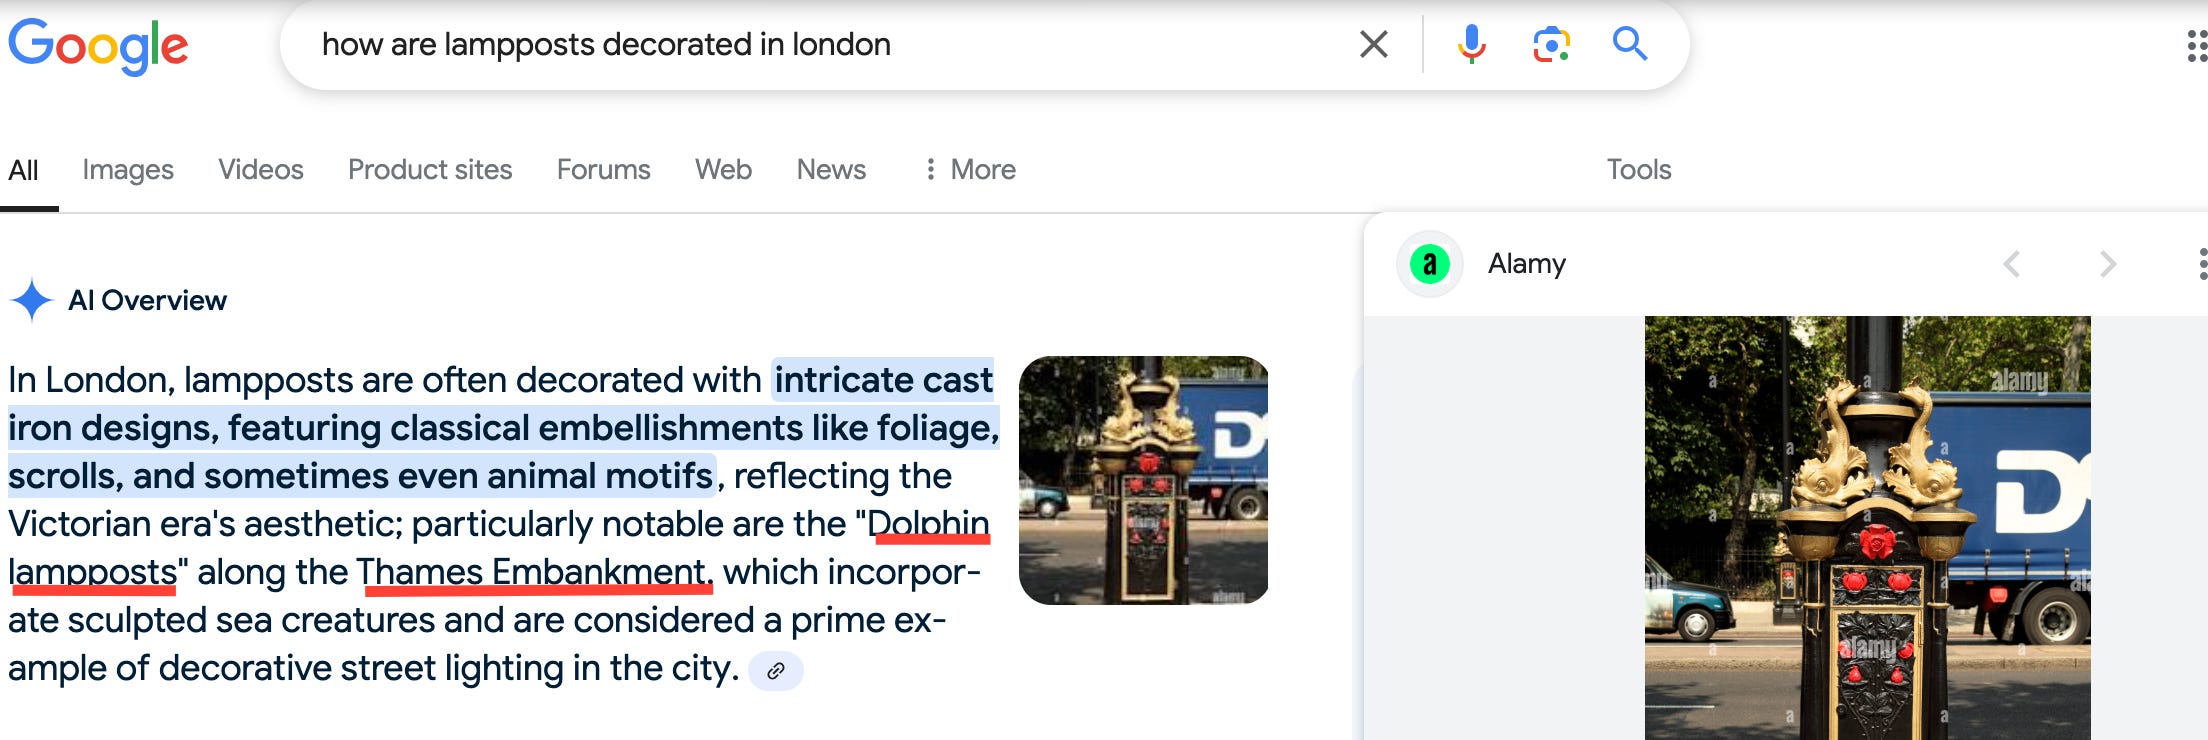
Search query: "dolphin lampposts London north bank gold"
This leads us to a match—these golden dolphin lampposts are primarily found along the north bank of the Thames, specifically in the City of Westminster.

Step 3: Cross-Referencing with Google Earth
Since we suspect Westminster, we turn to Google Earth for further verification. We know from the original image that the lamppost is positioned near a London Underground station.
Search query: "Westminster tube station entrances"
Upon investigation, we find that there are multiple entrances to Westminster Station, including one near the Thames. However, the alleyway-like setup in the original image suggests this might not be the right location.
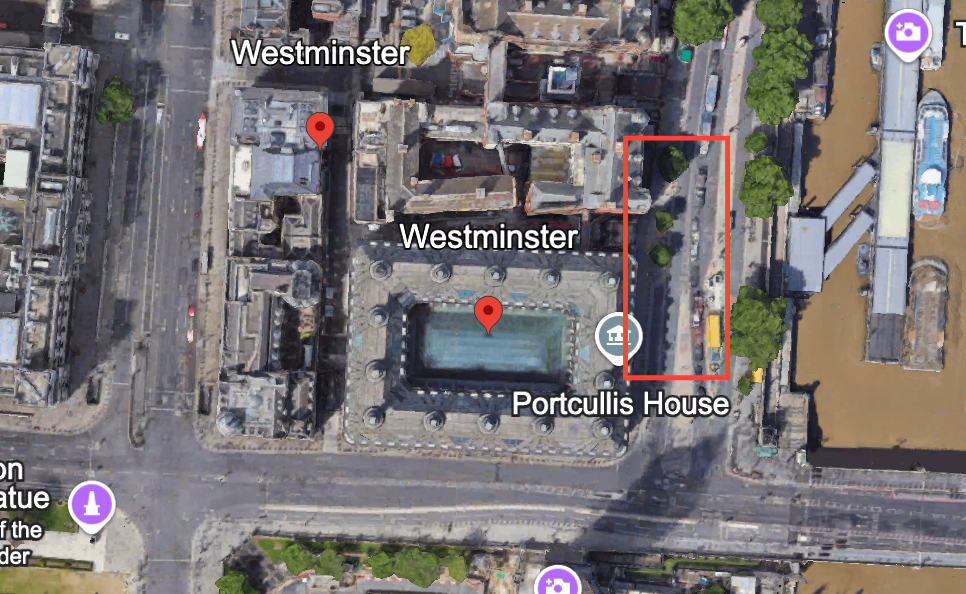
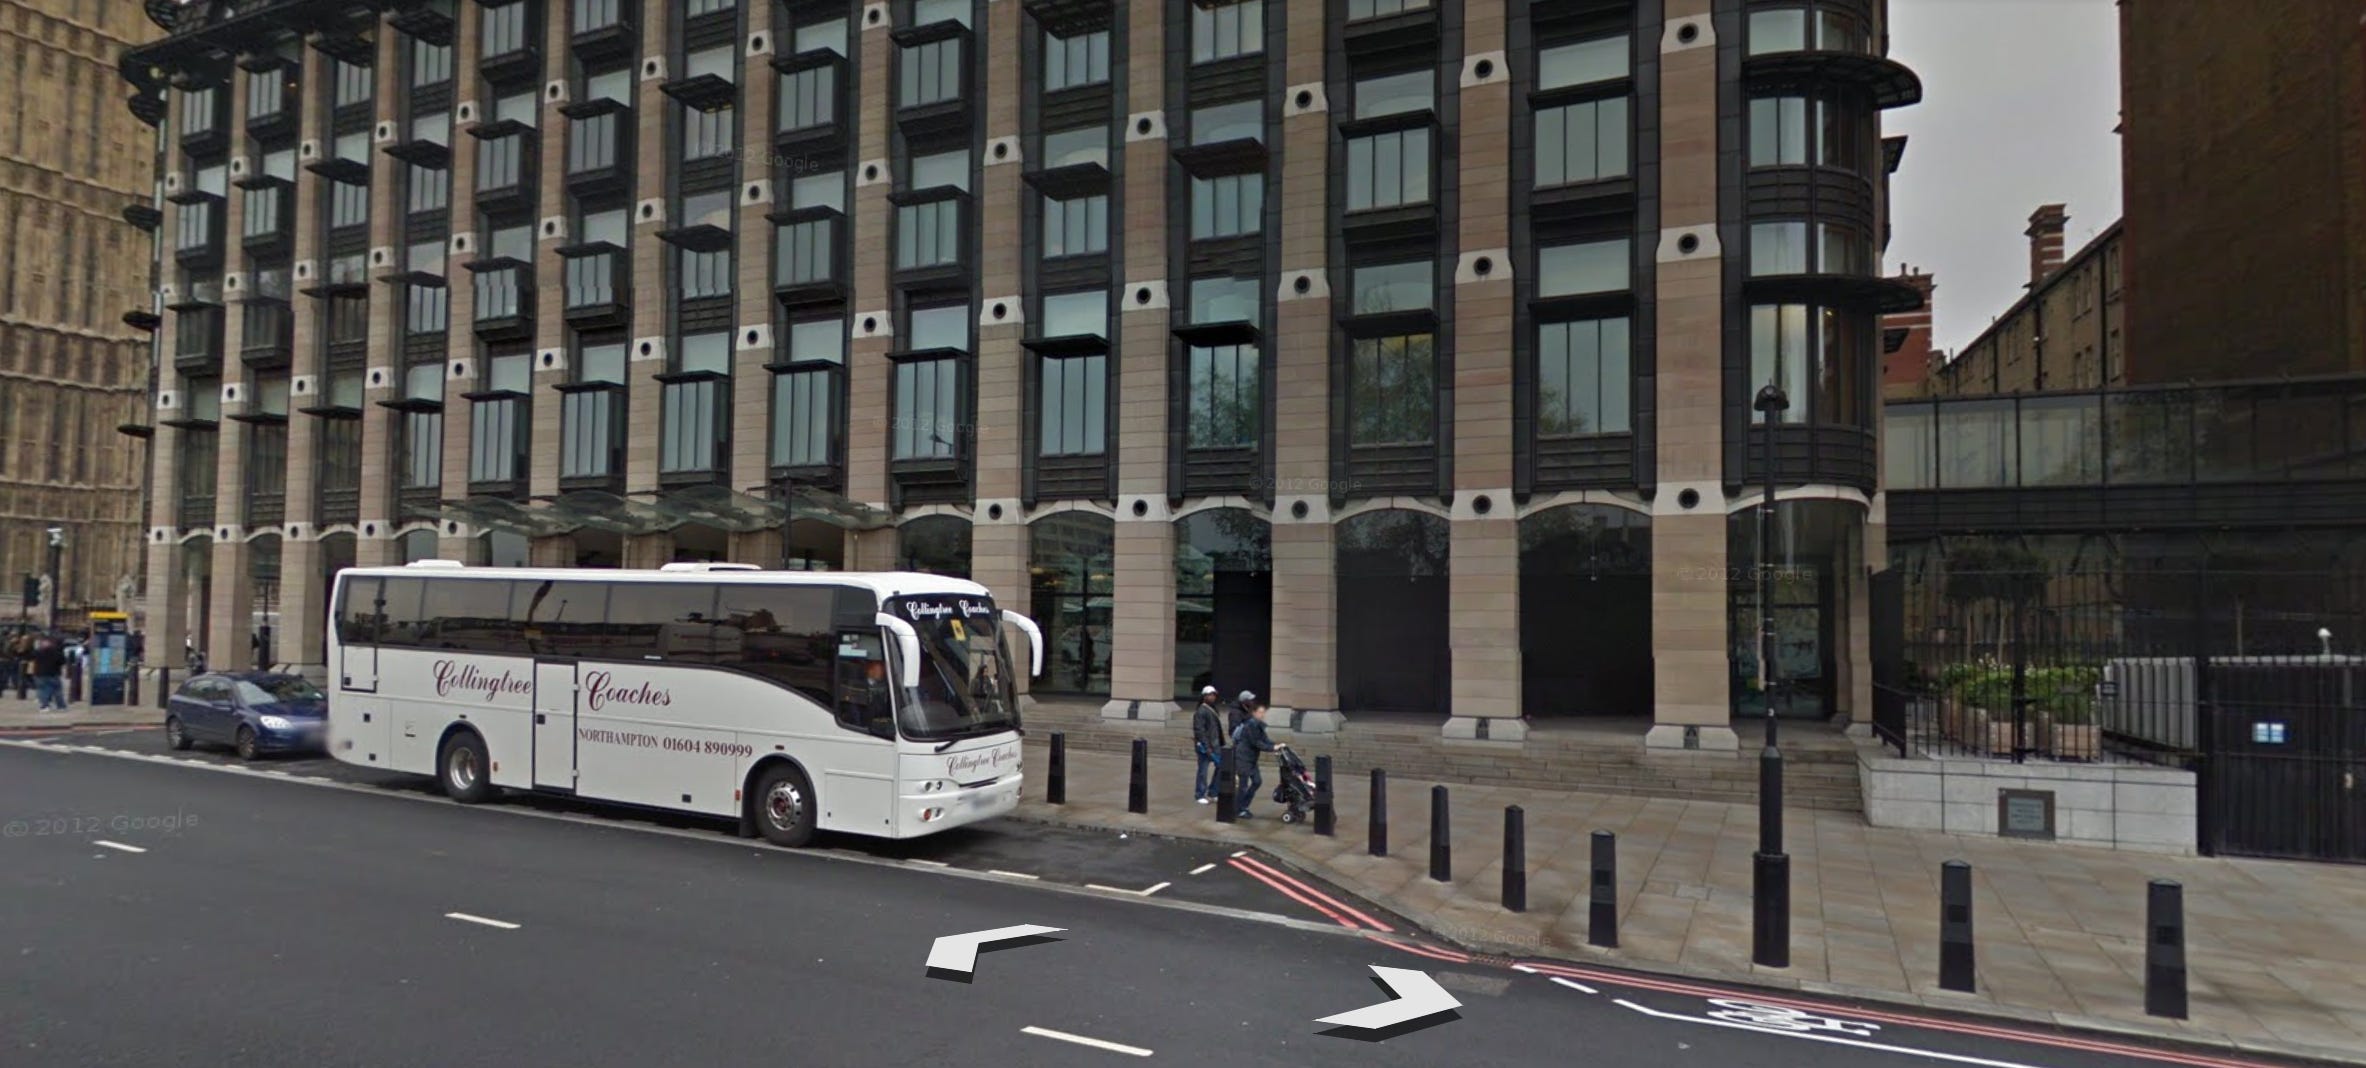
Step 4: Checking Other Thames-Side Tube Stations
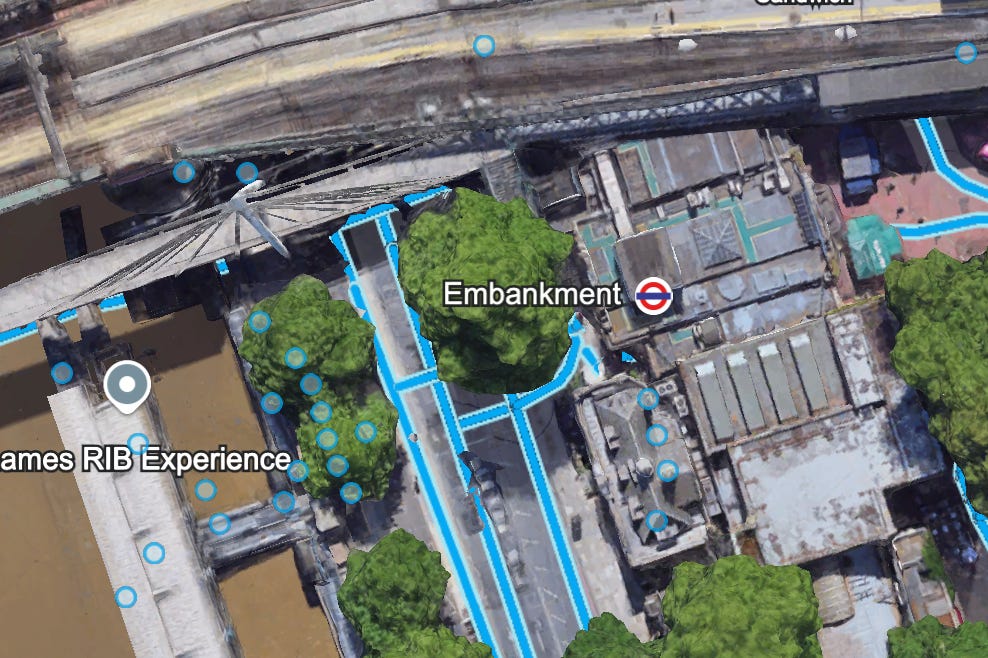
A logical next step is to look at other London Underground stations along the north bank of the Thames. By checking a London Tube map, we identify two additional candidates: Embankment and Temple stations.
We use Google Earth to zoom in on Embankment Station, but it does not match the image’s layout.
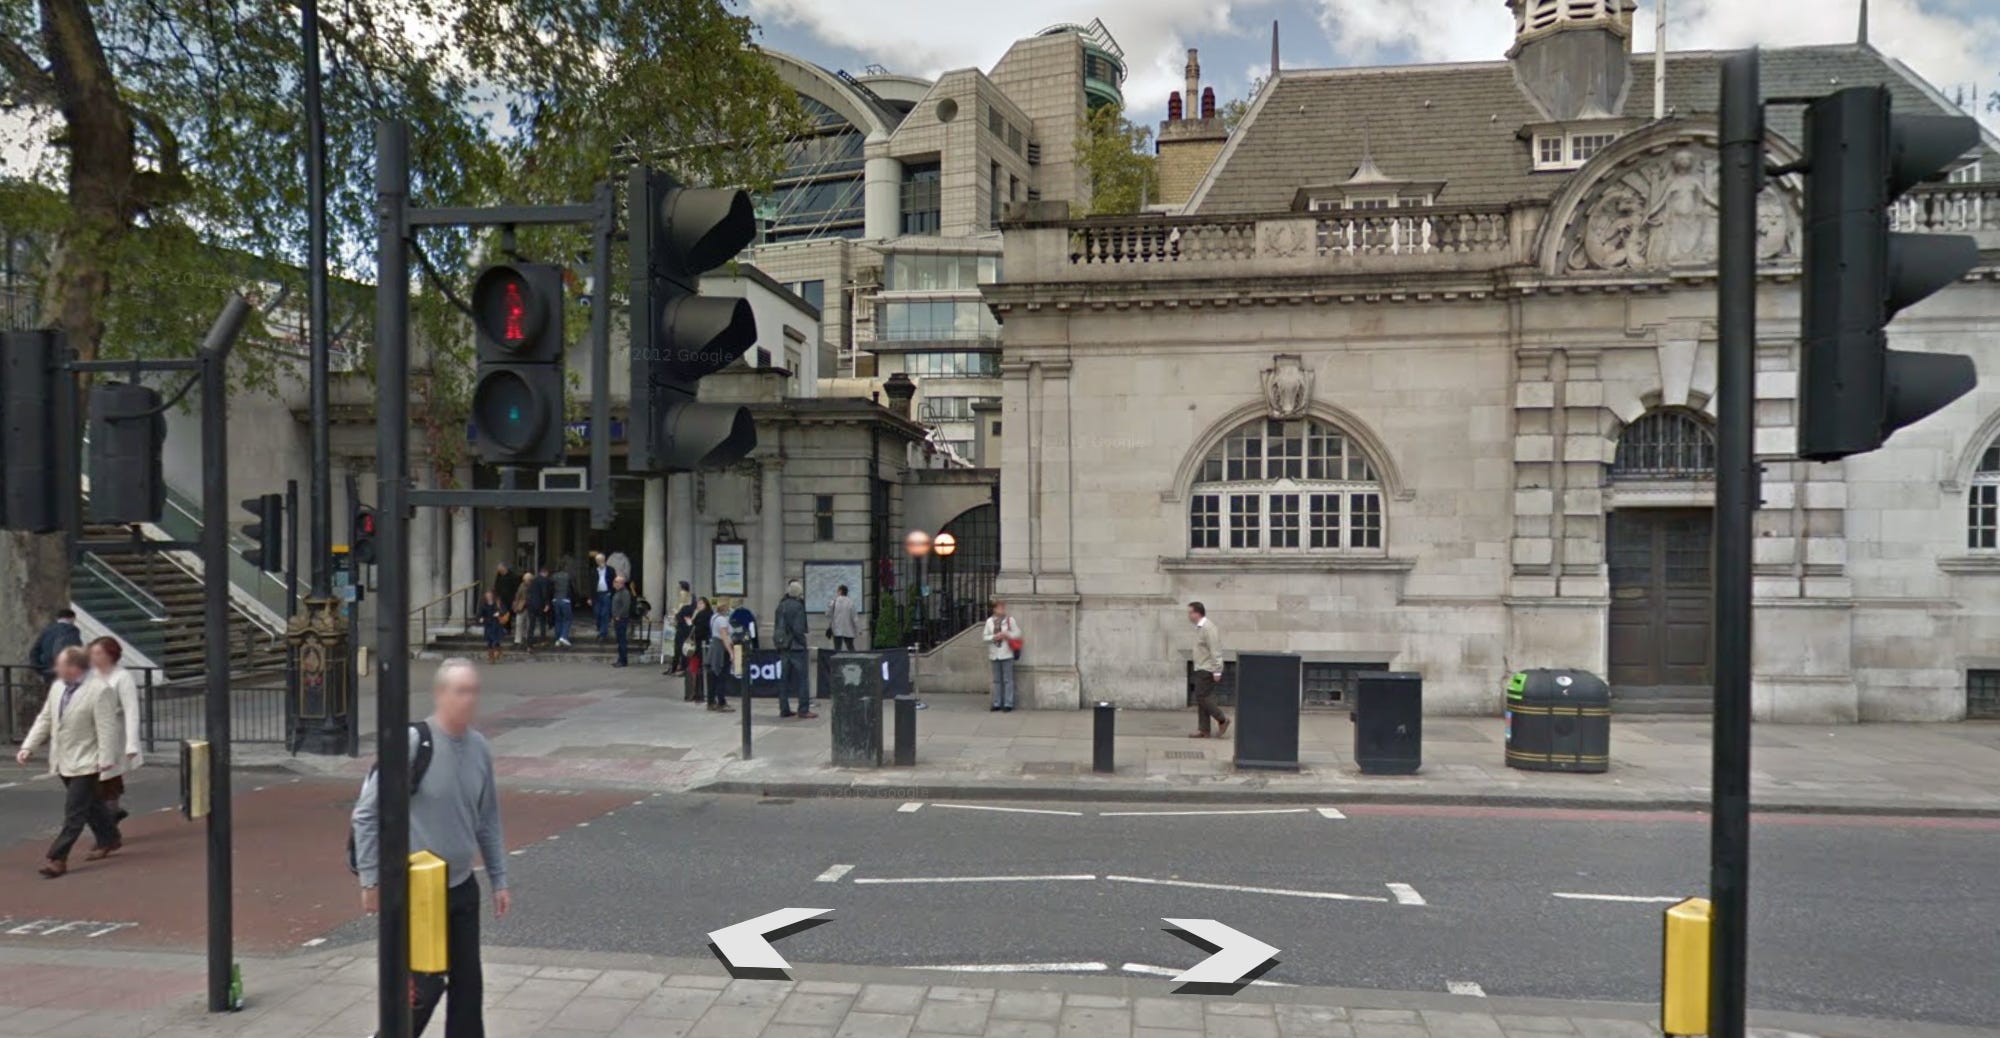
Moving to Temple Station, we spot something familiar:
The same golden dolphin lampposts
A tube entrance positioned near the Thames
An alley-like perspective matching the original image
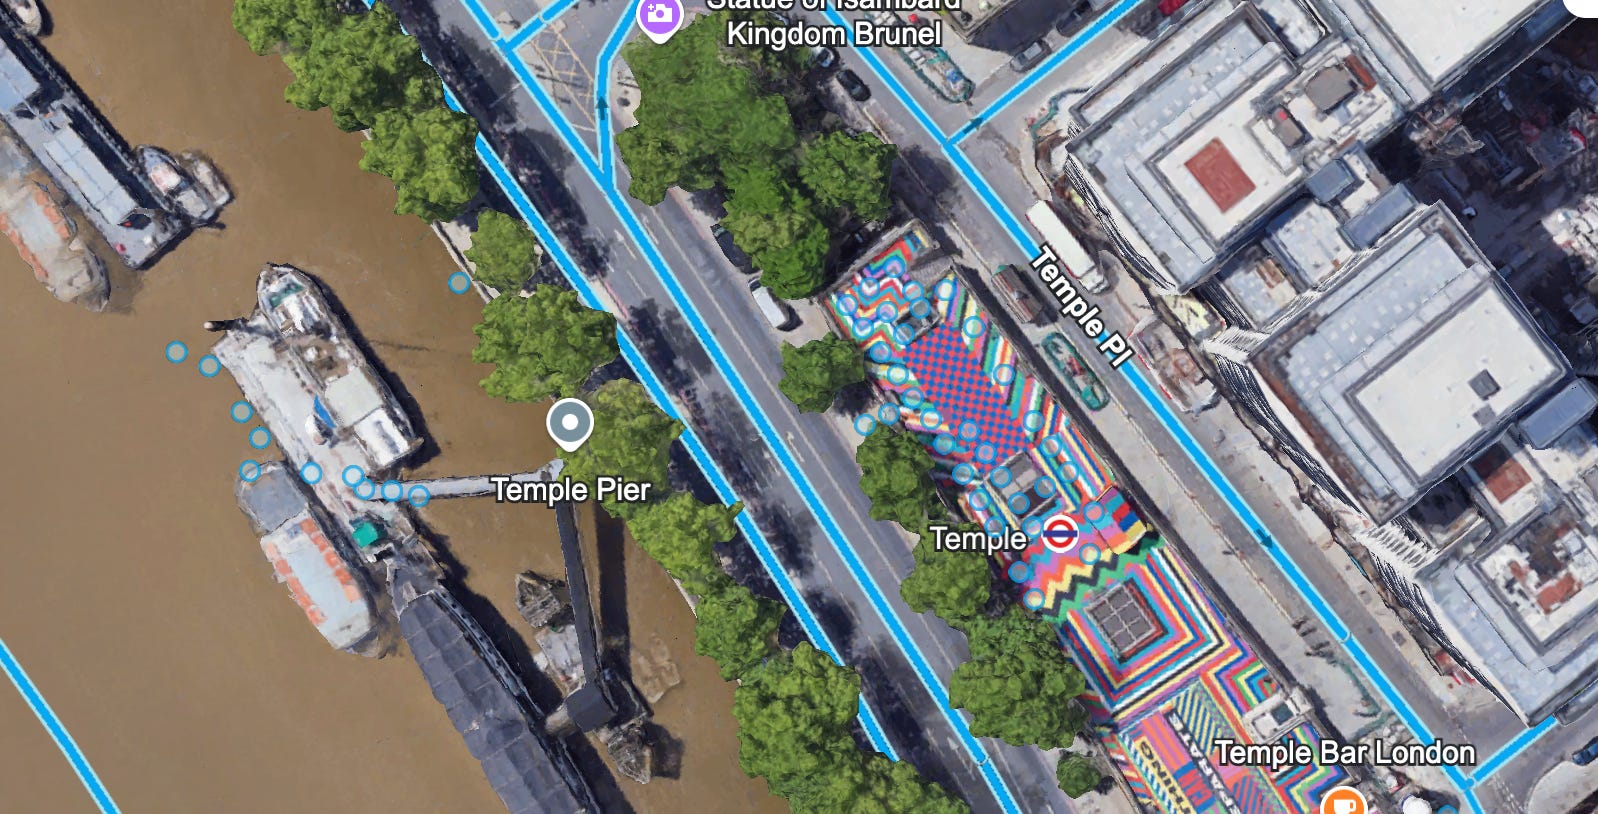
Ah hah!! This looks familiar
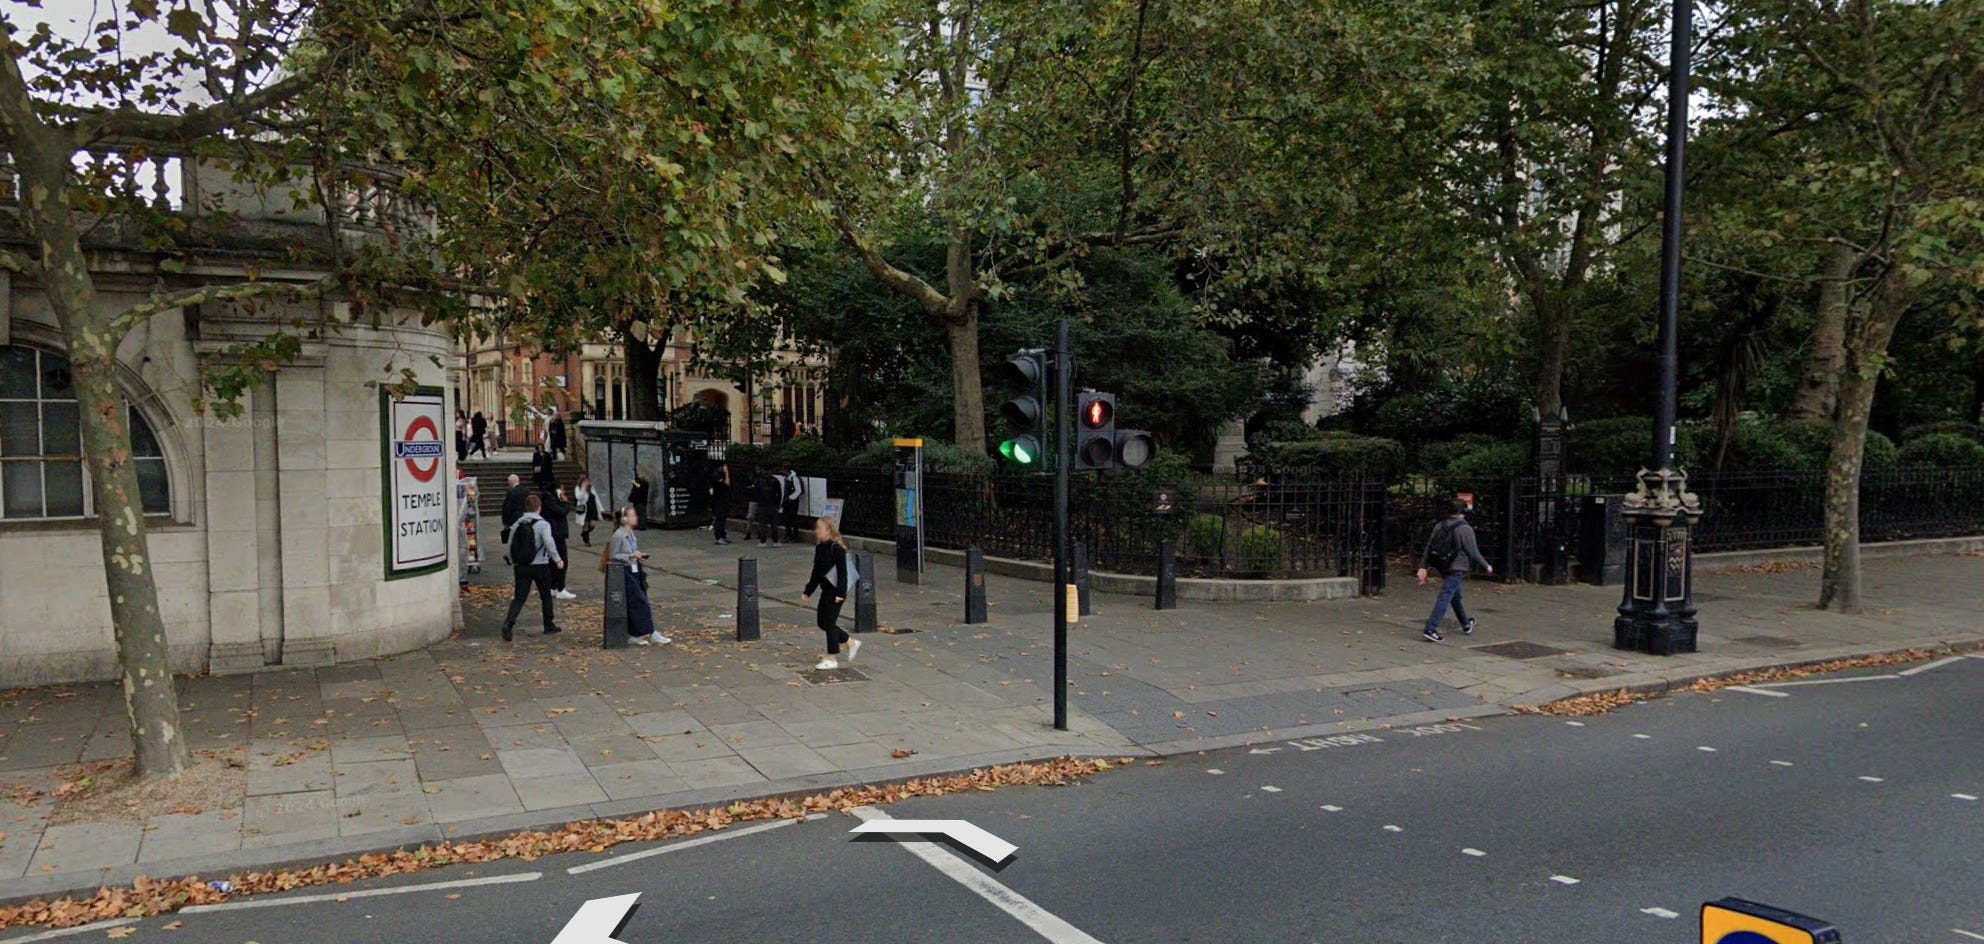
Step 5: Confirming the Location
After a detailed visual comparison, we confirm that the lamppost in the original image is located outside Temple Tube Station.
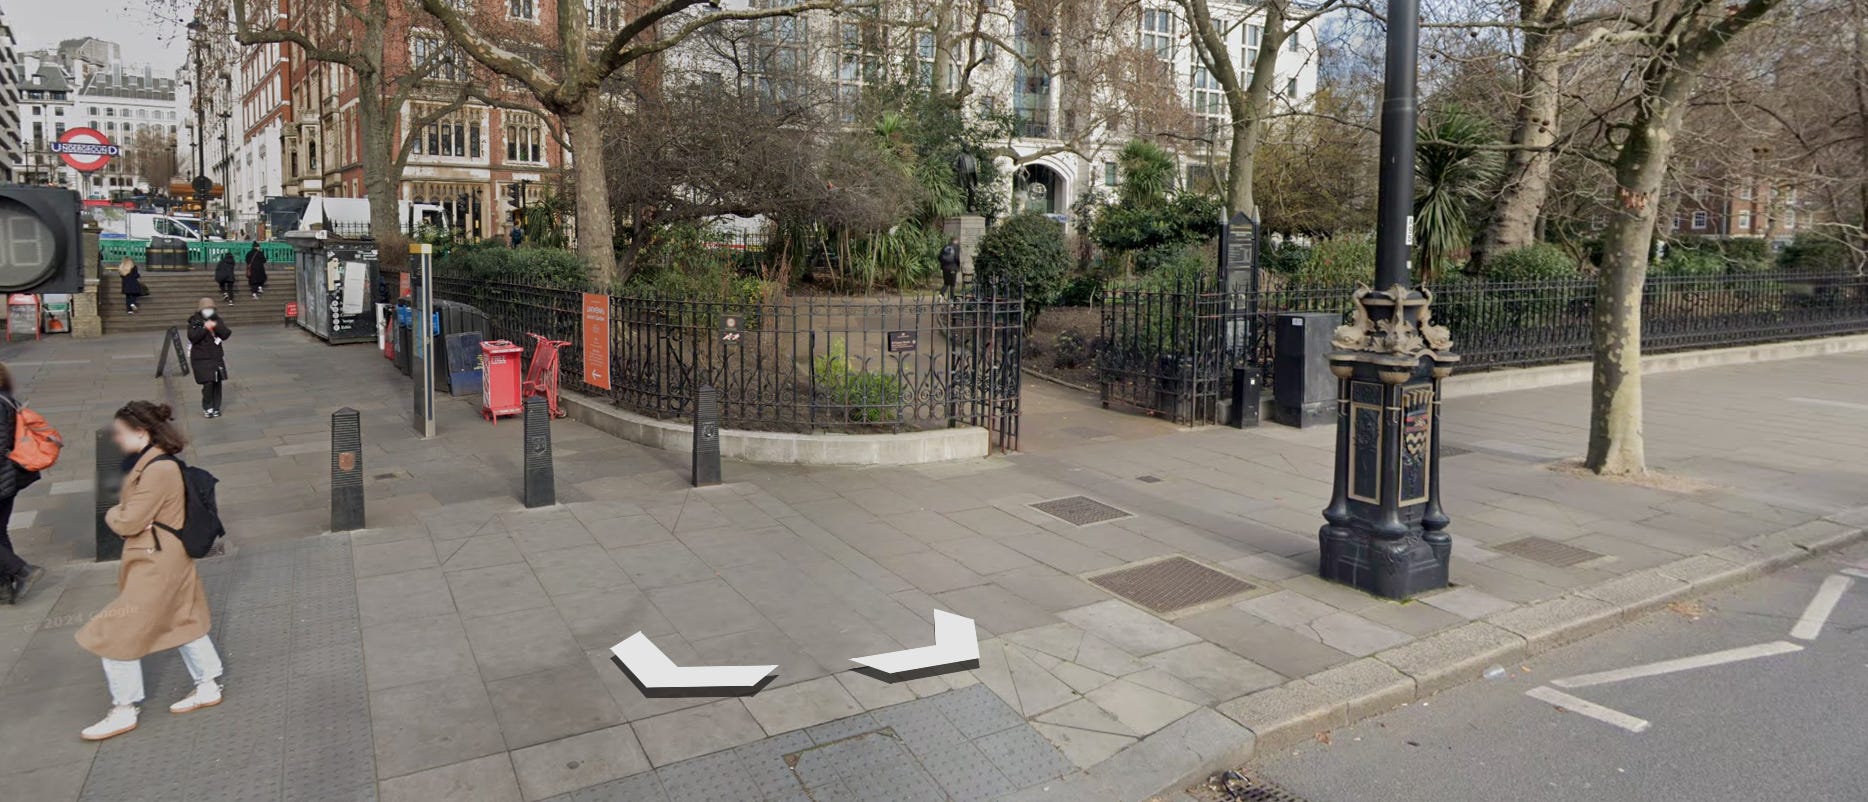
And here we have it! The golden dolphin lamppost lives outside of Temple tube station.
This investigation demonstrates a step-by-step OSINT approach to geolocation:
Identify key clues in the image – Look for text, signs, landmarks, and distinct objects.
Research unique elements – Conduct targeted Google searches on unusual features (e.g., lamppost design).
Use mapping tools – Leverage Google Earth and street view to compare real-world locations.
Cross-check findings – Verify assumptions by examining additional nearby locations.
By following this process, we successfully pinpointed the location of the image.
Did you get it right? Let me know how you approached this geolocation challenge!